Understanding Rubber Floor Transition Solutions
Benefits of Rubber Floor Transitions – Durability, safety, and aesthetic appeal
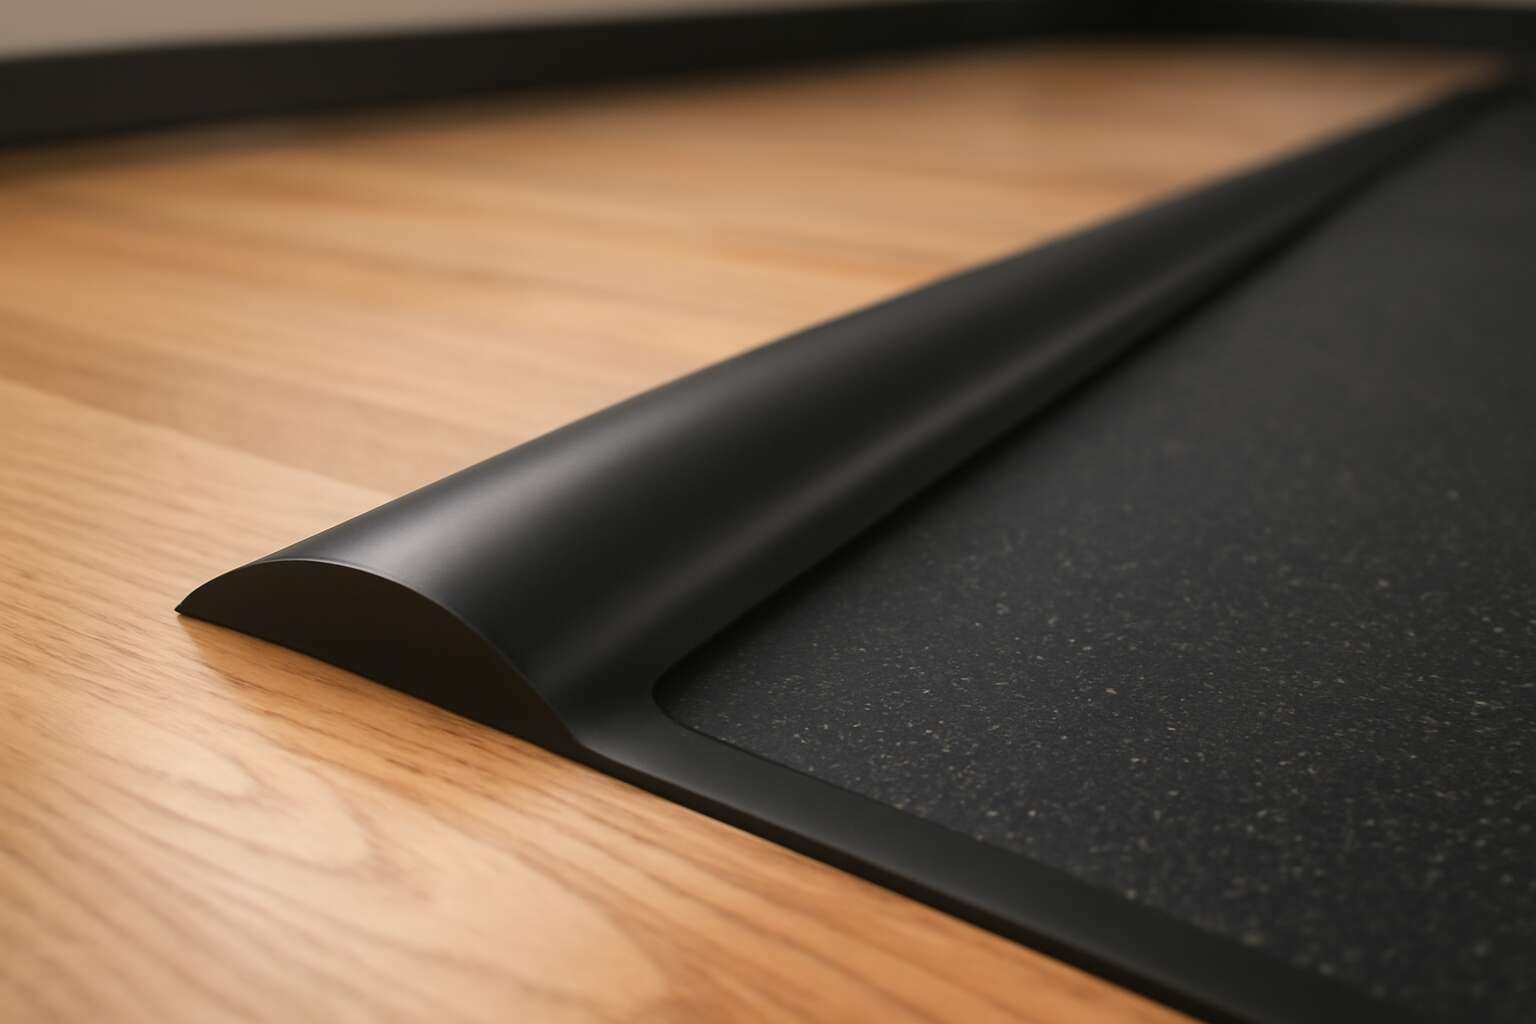
In environments where safety and longevity are paramount, the significance of a well-designed rubber floor transition cannot be overstated. Research indicates that flooring solutions incorporating rubber floor transition are increasingly favored for their ability to withstand the rigors of heavy foot traffic and daily wear. These transitions serve as a seamless bridge between different flooring surfaces, reducing trip hazards and enhancing overall safety—an aspect that resonates deeply within South Africa’s bustling commercial and educational sectors.
Beyond mere functionality, rubber floor transition adds a layer of aesthetic sophistication, elevating the visual harmony of diverse interior designs. Its durability ensures that the flooring remains resilient against impacts, moisture, and chemical exposure, making it an optimal choice for both indoor and outdoor applications. The inherent flexibility of rubber allows for easy installation and maintenance, preserving the integrity of your space for years to come.
- Enhanced safety through slip-resistant surfaces
- Long-lasting resilience to wear and tear
- Visual cohesion across different flooring types
Ultimately, investing in a high-quality rubber floor transition reflects a commitment to safety, durability, and aesthetic appeal—elements that define modern spaces in South Africa and beyond. Such solutions are not just functional; they are an affirmation of thoughtful design that considers both practicality and visual harmony.
Types of Rubber Floor Transition Strips – T-molding, reducer, beveled edges, and ramp options
Understanding the different types of rubber floor transition solutions is essential for creating a seamless and safe environment. These solutions are not merely functional; they embody a subtle artistry that unites disparate surfaces with purpose and precision. The selection of the right rubber floor transition, whether T-molding, reducer, beveled edges, or ramps, can profoundly influence both safety and aesthetic harmony.
Each type of rubber floor transition serves a unique role. For example, T-molding is ideal for covering expansion gaps between two floors of equal height, providing a clean, finished look. Reducers gracefully bridge the height difference between flooring surfaces, preventing tripping hazards. Beveled edges offer a subtle slope that facilitates easy movement, especially in wheelchair-accessible spaces. Ramps, on the other hand, are indispensable for outdoor applications or areas where mobility is a priority.
- Durability under varying loads and weather conditions
- Ease of installation and maintenance
- Aesthetic integration with existing flooring
Choosing the right rubber floor transition isn’t just about aesthetics; it’s about creating spaces that feel intuitively safe and thoughtfully designed. These solutions transcend mere practicality—they embody a commitment to human-centric design that respects safety without sacrificing style. The versatility of rubber allows these transitions to adapt seamlessly to South Africa’s diverse environments, from bustling commercial hubs to serene outdoor spaces.
Materials Used in Rubber Transition Strips – Solid rubber, recycled rubber, and flexible PVC blends
When selecting a rubber floor transition, understanding the materials that compose these versatile strips is essential. Each material brings its own unique qualities, affecting durability, environmental impact, and visual harmony. Solid rubber, for instance, is renowned for its robustness and resilience, making it ideal for high-traffic areas where wear and tear are relentless. Its dense composition ensures longevity, even under the weight of heavy equipment or constant foot traffic.
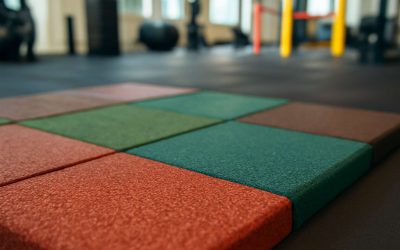
Recycled rubber offers an eco-friendly alternative, crafted from repurposed tires and industrial waste. Not only does this contribute to sustainability, but it also provides excellent shock absorption and slip resistance. This material is particularly suited for gyms, playgrounds, or outdoor spaces where environmental consciousness is a priority. To enhance flexibility and ease of installation, some manufacturers blend rubber with flexible PVC, creating a versatile and adaptable rubber floor transition that can seamlessly integrate with diverse surfaces and environments.
Ultimately, the choice of material in a rubber floor transition shapes the entire experience—combining functionality with environmental stewardship. Whether opting for the strength of solid rubber, the sustainability of recycled options, or the flexibility of PVC blends, each material elevates the safety and aesthetic appeal of your space, turning a simple transition into a subtle work of design artistry.
Applications of Rubber Floor Transitions
Commercial Spaces – Gyms, malls, and industrial facilities
In bustling commercial spaces like gyms, malls, and industrial facilities, the importance of a seamless flooring experience cannot be overstated. A well-placed rubber floor transition acts as the silent guardian, guiding foot traffic while maintaining safety and aesthetic harmony. These spaces thrive on constant movement—people rushing, equipment clattering, shoppers browsing—and a rubber floor transition ensures that this rhythm remains unbroken, reducing trip hazards and protecting flooring edges from premature wear.
Imagine the subtle grace of a rubber floor transition that effortlessly bridges different flooring surfaces. It’s not just about function; it’s about creating an environment where safety and style coexist, allowing the flow of activity to feel natural and uninterrupted. In these high-traffic settings, the choice of rubber floor transition becomes a moral decision—one that prioritizes human safety and the durability of the environment. The right transition strip transforms chaos into order, offering a quiet assurance that every step taken is secure and supported.
Educational Institutions – Schools, daycare centers, and recreational areas
In the lively world of educational institutions—think bustling schools, vibrant daycare centers, and energetic recreational areas—the importance of a rubber floor transition cannot be overstated. These spaces are a whirlwind of activity, where tiny feet and bouncing balls collide with flooring edges every minute. A well-chosen rubber floor transition not only prevents tripping hazards but also offers a sleek solution to connect different flooring surfaces seamlessly. It’s like the unsung hero of safety, quietly ensuring that little learners and teachers alike can focus on what truly matters—learning and playing without the fear of slipping or falling.
For environments teeming with energy, the durability and safety features of a rubber floor transition are invaluable. Whether it’s linking a soft play area to a classroom or bridging a gymnasium’s rubber flooring with adjacent tiles, these transition strips provide a smooth, protective edge. Plus, with options like beveled edges and ramps, they cater to all mobility needs—because every child deserves a safe passage. In essence, a rubber floor transition becomes more than just a functional necessity; it transforms chaotic spaces into organized, safe havens of discovery and fun.
Residential Settings – Home gyms, playrooms, and basement flooring
In the cozy sanctuaries of South African homes, where comfort and safety intertwine like a beautifully woven tapestry, the role of a rubber floor transition becomes an understated hero. Imagine a home gym bustling with energy, children’s laughter echoing through the playroom, or a basement transformed into a versatile entertainment hub—each space benefits profoundly from the seamless connection that a well-crafted rubber floor transition provides. These strips act as gentle bridges, guiding footsteps smoothly from one surface to another, preventing accidental slips and creating a harmonious flow that elevates both safety and aesthetic appeal.
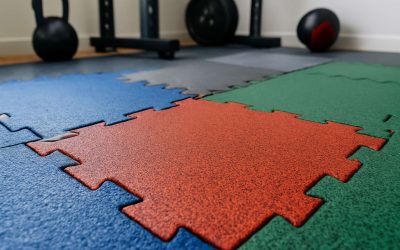
In residential settings, the significance of a rubber floor transition extends beyond mere practicality. For those dedicated to a healthy lifestyle, rubber flooring in a home gym offers resilience and shock absorption, while playrooms demand edges that are forgiving yet secure. Whether connecting a rubber mat to hardwood or tiled surfaces, these transition strips ensure a unified look with minimal tripping hazards. For added versatility, consider options like beveled edges or ramps, perfect for strollers, wheelchairs, or anyone with mobility needs. The result is a sanctuary that feels both polished and welcoming, where every step is a testament to thoughtful design and unwavering safety.
Choosing the Right Rubber Floor Transition
Factors to Consider – Floor height differences, traffic levels, and environment
Choosing the right rubber floor transition is akin to orchestrating harmony between differing terrains—each one telling its own story. In environments where floor height differences are subtle whispers or towering divides, selecting a rubber floor transition that seamlessly bridges these gaps is paramount. The degree of traffic levels plays a crucial role; high-traffic areas demand durable, slip-resistant options that withstand relentless footsteps and equipment.
When considering the environment—whether it’s the bustling corridors of a school or the rugged floors of an industrial facility—factors such as moisture, temperature fluctuations, and chemical exposure influence your choice. For example, in South Africa’s diverse climate, a resilient, flexible rubber transition can prevent wear and tear caused by sun exposure or humidity.
In essence, matching the rubber floor transition to its setting ensures safety, longevity, and aesthetic continuity—transforming a simple transition into a silent guardian of space.
Size and Width Options – Matching transition strips to specific flooring specifications
Choosing the perfect rubber floor transition isn’t merely a matter of size; it’s an art of harmony, a delicate dance between function and form. The size and width of your transition strip must mirror the unique contours of your flooring landscape, ensuring that every step blends seamlessly into the next. A transition that’s too narrow risks creating hazards, while one that’s overly wide may disrupt the aesthetic flow or interfere with equipment movement.
In environments where flooring heights subtly shift, selecting an appropriately proportioned rubber floor transition is crucial to maintain safety and visual continuity. For spaces with significant height differences, a ramped or beveled transition offers a gentle incline, guiding footsteps and equipment effortlessly across the divide.
When matching a transition strip to your flooring specifications, consider these key factors:
- The exact height difference between adjoining floors
- The width of the space needing coverage
- The level of foot or equipment traffic expected
Matching the size and width of your rubber floor transition to these specific needs ensures that safety, durability, and aesthetic appeal are woven into every inch of your space. In the end, a well-chosen transition becomes more than a mere connector—it’s a silent guardian, seamlessly uniting varied terrains with grace and resilience.
Color and Design Compatibility – Aesthetic integration with existing flooring
Selecting the right rubber floor transition isn’t just about size and functionality—it’s also about harmony in design. The color and pattern of your transition strip can significantly influence the overall aesthetic of your space. A transition that visually complements your existing flooring creates a seamless flow, making the environment feel cohesive and well-thought-out.
When choosing a rubber floor transition, consider the existing color palette and texture. For a subtle blend, opt for neutral tones like black, gray, or beige. If you want to make a statement, bold colors like red or blue can add a pop of vibrancy. Many manufacturers offer custom options, allowing you to match or contrast with your flooring for a tailored look.
Design compatibility goes beyond color. The profile of the rubber transition—whether it’s a sleek T-molding or a ramped edge—should align with your space’s aesthetic. For modern settings, minimalistic designs work well, while textured or patterned transitions can add character to more traditional environments. Incorporating a rubber floor transition that visually integrates with your flooring ensures safety and style go hand in hand without compromising the visual flow of your space.
Installation Tips for Rubber Transitions
Preparation and Measurement – Ensuring accurate cuts and proper fit
Precision in installation begins long before the first cut—meticulous preparation and measurement are the bedrock upon which a seamless rubber floor transition is built. A miscalculation in measurement can result in gaps or overlaps, undermining both safety and aesthetic integrity. When dealing with rubber floor transition, every millimeter counts, especially in high-traffic areas where durability and safety are paramount. To ensure an impeccable fit, use a reliable tape measure and a straightedge, double-checking all dimensions before marking the cut lines.
Once measurements are verified, the next step is to make accurate cuts that match the designated transition width. A sharp utility knife or a fine-toothed saw often does the trick, but precision is key. For complex angles or irregular floor edges, employing a template or jigsaw can help achieve a perfect cut, preserving the natural curve or straight line needed for a professional finish.
- Always wear safety gear—gloves and eye protection—when handling cutting tools.
- Test cuts on scrap material to gauge accuracy before working on the final piece.
- Ensure the workspace is clean; debris can lead to uneven cuts or installation issues.
By dedicating careful attention to measurement and preparation, the installation of a rubber floor transition becomes a process of craftsmanship rather than mere assembly. This foundational step is essential to seamlessly bridging different flooring surfaces and ensuring long-lasting performance in any environment.
Tools and Materials Needed – Adhesives, screws, and cutting tools
In the shadowed corners of craftsmanship, the tools and materials chosen for a rubber floor transition can spell the difference between a seamless finish and a haunting imperfection. The right adhesive grants the transition strip a bond as firm as a vow etched in stone, resisting the relentless wear of footfalls and time. When installing a rubber floor transition, selecting a high-quality, flexible adhesive is paramount—one that melds with the rubber’s natural resilience while offering steadfast adherence in high-traffic environments.
Complementing the adhesive, the correct cutting tools—such as a sharp utility knife or fine-toothed saw—are indispensable for precision. Safety should never be sacrificed; gloves and eye protection safeguard against the lurking dangers of sharp blades. For intricate cuts or irregular edges, employing a jigsaw or crafting a template can transform a rough outline into a work of art, ensuring your rubber floor transition fits as if crafted by a master’s hand.
In addition, screws may be necessary for securing transition strips in areas where extra stability is desired, especially over uneven subfloors. Here, an ordered approach simplifies the process:
- Gather all essential materials—adhesives, screws, cutting tools, and safety gear.
- Test cuts on scrap material to perfect your technique before working on the final piece.
- Ensure the workspace is pristine; debris can mar the precision of your cuts and compromise the installation.
By meticulously selecting the appropriate tools and materials, the installation of a rubber floor transition becomes not just an act of assembly but a ritual of craftsmanship—an enduring testament to the artistry woven into every detail of your flooring environment.
Step-by-Step Installation Guide – Laying, fixing, and finishing the transition strip
Installing a rubber floor transition is a delicate process that transforms a simple flooring change into a seamless visual story. The key is precision—each step, from laying to fixing and finishing, must be executed with care. When properly done, a rubber floor transition not only elevates the aesthetic but also ensures long-lasting safety and durability, especially in high-traffic areas like gyms or busy hallways.
Begin by meticulously measuring the floor height differences to determine the correct type of transition strip. For uneven surfaces, a ramp or beveled edge might be necessary to prevent tripping hazards. Once measurements are confirmed, cut the rubber transition strip to size using sharp cutting tools like a utility knife or fine-toothed saw. Remember, testing your cuts on scrap material first can save time and material during the actual installation.
Next, apply a high-quality, flexible adhesive designed specifically for rubber flooring. Press the transition strip firmly into place, ensuring it aligns perfectly with the adjoining flooring. For added security, especially over uneven subfloors, screws may be used—carefully countersunk to maintain a smooth surface. Always double-check that the transition is flush and stable before finishing with any necessary clean-up or aesthetic touch-ups.
Maintenance and Longevity of Rubber Floor Transitions
Cleaning Procedures – Routine cleaning, stain removal, and periodic checks
Maintaining the integrity of rubber floor transition strips is essential for ensuring their longevity and continued safety. Regular cleaning not only preserves their aesthetic appeal but also prevents the buildup of dirt and debris that can cause premature wear. A gentle sweep followed by a damp mop with a mild cleaning solution can effectively remove surface grime without damaging the material. For stubborn stains, specific stain removal techniques may be necessary, but it’s crucial to avoid harsh chemicals that could degrade the rubber.
Periodic inspections are equally important—they help identify any signs of damage, such as cracks or lifting edges, before they escalate into safety hazards. In high-traffic areas, scheduled checks and maintenance routines can significantly extend the lifespan of your rubber floor transition. Remember, a well-maintained transition strip does not only look professional but also plays a vital role in preventing slips, trips, and falls, especially in busy commercial and residential spaces.
Durability Tips – Avoiding heavy impact and chemical damage
Rubber floor transition strips are the unsung heroes of seamless flooring, quietly safeguarding both aesthetics and safety. Yet, their durability hinges on more than just sturdy materials; proper maintenance and mindful usage are paramount. Heavy impact from dropped equipment or furniture can crack or lift that delicate rubber, prematurely compromising its integrity. To preserve the lifespan of your rubber floor transition, it’s wise to avoid such undue stress—think of it as giving your flooring a gentle handshake, not a jarring shove.
Chemical exposure, especially from harsh cleaners or solvents, can also erode the rubber’s resilience over time. Opting for mild cleaning solutions and regular inspections—spotting early signs of wear—are simple acts that extend the longevity of your transition strip. For spaces with high foot traffic, scheduling routine checks can prevent minor issues from escalating into costly repairs or dangerous hazards. Remember, a well-maintained rubber floor transition is not just a matter of appearance; it’s essential for safety and durability in any environment.
Replacing and Repairing – When and how to replace worn or damaged strips
Rubber floor transition strips are the silent guardians of seamless flooring, but even the most robust materials require proper care to maintain their integrity. When these strips become worn or damaged, timely replacement becomes essential—not just for aesthetics but for safety as well. Recognizing the signs of deterioration early can save you from costly repairs and potential hazards down the line.
Worn rubber floor transition strips often show signs of cracking, lifting, or excessive wear, especially in high-traffic areas. When these issues become evident, it’s time to consider replacing them. The process begins with careful removal of the old strip, ensuring that the surrounding flooring remains intact. Accurate measurement and cutting are crucial for a snug fit once the new transition strip is installed.
- Assess the damage: Is the rubber floor transition cracked or lifting?
- Remove the compromised strip: Use appropriate tools to detach it without damaging the floor.
- Measure precisely: Ensure the new strip matches the length and width of the previous one.
- Install the replacement: Secure the new rubber floor transition using adhesives or screws, following manufacturer instructions.
- Check for stability: Confirm the strip lies flat and provides a smooth transition between surfaces.
Routine inspections and maintenance can extend the lifespan of rubber floor transition strips significantly. Regular cleaning, avoiding heavy impacts, and promptly addressing signs of wear will preserve their protective and aesthetic qualities. When replaced at the right time, a well-maintained rubber floor transition continues to serve its purpose—safeguarding flooring integrity and elevating the overall look of any space.
Buying Guide for Rubber Floor Transition Strips
Where to Buy – Online retailers, flooring specialists, and local stores
When it comes to perfecting the seamless flow between different flooring surfaces, the rubber floor transition is your unsung hero. Whether you’re upgrading a bustling gym or sprucing up a cozy basement, knowing where to buy these vital components can make all the difference. Believe it or not, the right rubber floor transition can extend the lifespan of your flooring while keeping safety at the forefront — a true multitasker in the flooring world.
Online retailers top the list for convenience, offering a vast array of options at competitive prices. Just a few clicks can connect you with high-quality rubber floor transition strips from reputable brands, ensuring you get durability and style in one package. Flooring specialists are another excellent resource, providing expert advice and tailored solutions for your specific space. For those who prefer a hands-on approach, local stores in South Africa often stock a variety of transition strips, giving you the chance to see and feel the product before making a commitment. It’s wise to compare options across these channels to find the perfect match for your flooring project.
In the end, whether you choose to shop online, consult a flooring specialist, or visit local stores, the goal remains the same: selecting a durable, aesthetically compatible rubber floor transition that fits your environment and budget. After all, a well-chosen transition strip isn’t just functional; it’s the finishing touch that makes your flooring transition truly seamless.
Price Range and Budgeting – Cost considerations for different types and sizes
Understanding the price range for rubber floor transition strips is essential for staying within budget while achieving a polished finish. In South Africa, the cost can vary significantly depending on the type, size, and material quality. For basic rubber floor transition strips, prices typically start at around R150 to R300 per meter. Higher-end options, especially those made from recycled rubber or custom designs, can range up to R600 or more per meter. Budgeting wisely means considering both immediate costs and long-term durability—since a good rubber floor transition can extend the lifespan of your flooring and save money in repairs down the line.
When selecting transition strips, think about the scope of your project. Larger or thicker strips designed for high-traffic areas tend to be pricier but offer superior resilience. Conversely, smaller or thinner strips may be suitable for residential settings or light-use zones. To get the best value, compare prices across various suppliers, including online retailers, local stores, and flooring specialists. Remember, investing in quality rubber floor transition not only enhances safety but also ensures your flooring remains seamless and stylish for years to come.
Top Brands and Manufacturers – Trusted names in rubber flooring accessories
Choosing the right rubber floor transition is an act of subtle artistry—an intersection where durability meets design, and function seamlessly melds with aesthetics. In South Africa, the market teems with a spectrum of trusted brands and manufacturers whose reputation for quality makes them indispensable for discerning buyers. Recognized names like M-D Building Products, Sika, and Rhino Rubber have built their legacy on delivering resilient, long-lasting rubber floor transition strips that withstand the rigors of both high-traffic commercial spaces and intimate residential settings.
When delving into the world of rubber floor transition, it’s vital to consider the provenance of the product. Top brands often emphasize material integrity—be it solid rubber, recycled rubber, or flexible PVC blends—ensuring that each strip maintains its resilience over years of use. To navigate this landscape, many professionals advocate for a curated selection process involving detailed comparisons of specifications, customer reviews, and supplier credibility. This approach guarantees that your investment in a rubber floor transition not only elevates safety and seamlessness but also aligns with the environmental sensitivities increasingly valued in South Africa’s eco-conscious marketplace.


0 Comments